Developing my mini CNC machine
The Coronavirus quarantine period was a terrible time for many people, but I tried to use it to my advantage by completing something I hadn't had the time for: a mini CNC/milling machine.
In 7th grade, my dad and I began working on the machine but ended up not being able to finish adding the electronics because we ran out of time. We followed Nikodem Bartnik's DIY dremel cnc design because he did a phenomenal job of creating an effecting cnc/milling machine at a low cost.
My first job was finding a feasible gcode sender. Nikodem recomended GRBL controller and CNCjs. Neither worked for me; GRBL controller didn't work at all and I couldn't find support for it, and while CNCjs is a very powerful software with good reviews, I didn't want to install nodejs for one application. Instead, I found a simple google chrome browser extension that did the trick. Here's a video of my first test:
Towards the end, you probably heard me say "what? oh ok...". This is because the cnc disconnected with the gcode sender-one of the many bugs of the software, as I later found out. For some reason, it would close the serial communication line after a set number of moves; I was never able to figure out the problem. And I also quickly came across another problem in the application, which was its inability to accept gcode I'd generated from Fusion 360. After a few days of messing around, I gave up and began using Universal Gcode Sender, A much more powerful software that only requires java as a prerequisite, not nodejs. This is what I'd use for future milling operations.
With a new gcode sender that worked, I attempted a first milling test. It wasn't great, because I didn't really understand the limitations of my machine and the material I was cutting. Many of the cuts that I did were too deep, and my milling bit wasn't made for this purpose at all. The reason that there are so many "hairs"(whisps of MDF on the ridges of the cuts) was because my feed rates were way too high as well. And finally, that large streak going across the bottom left is a result of a bad start calibration.
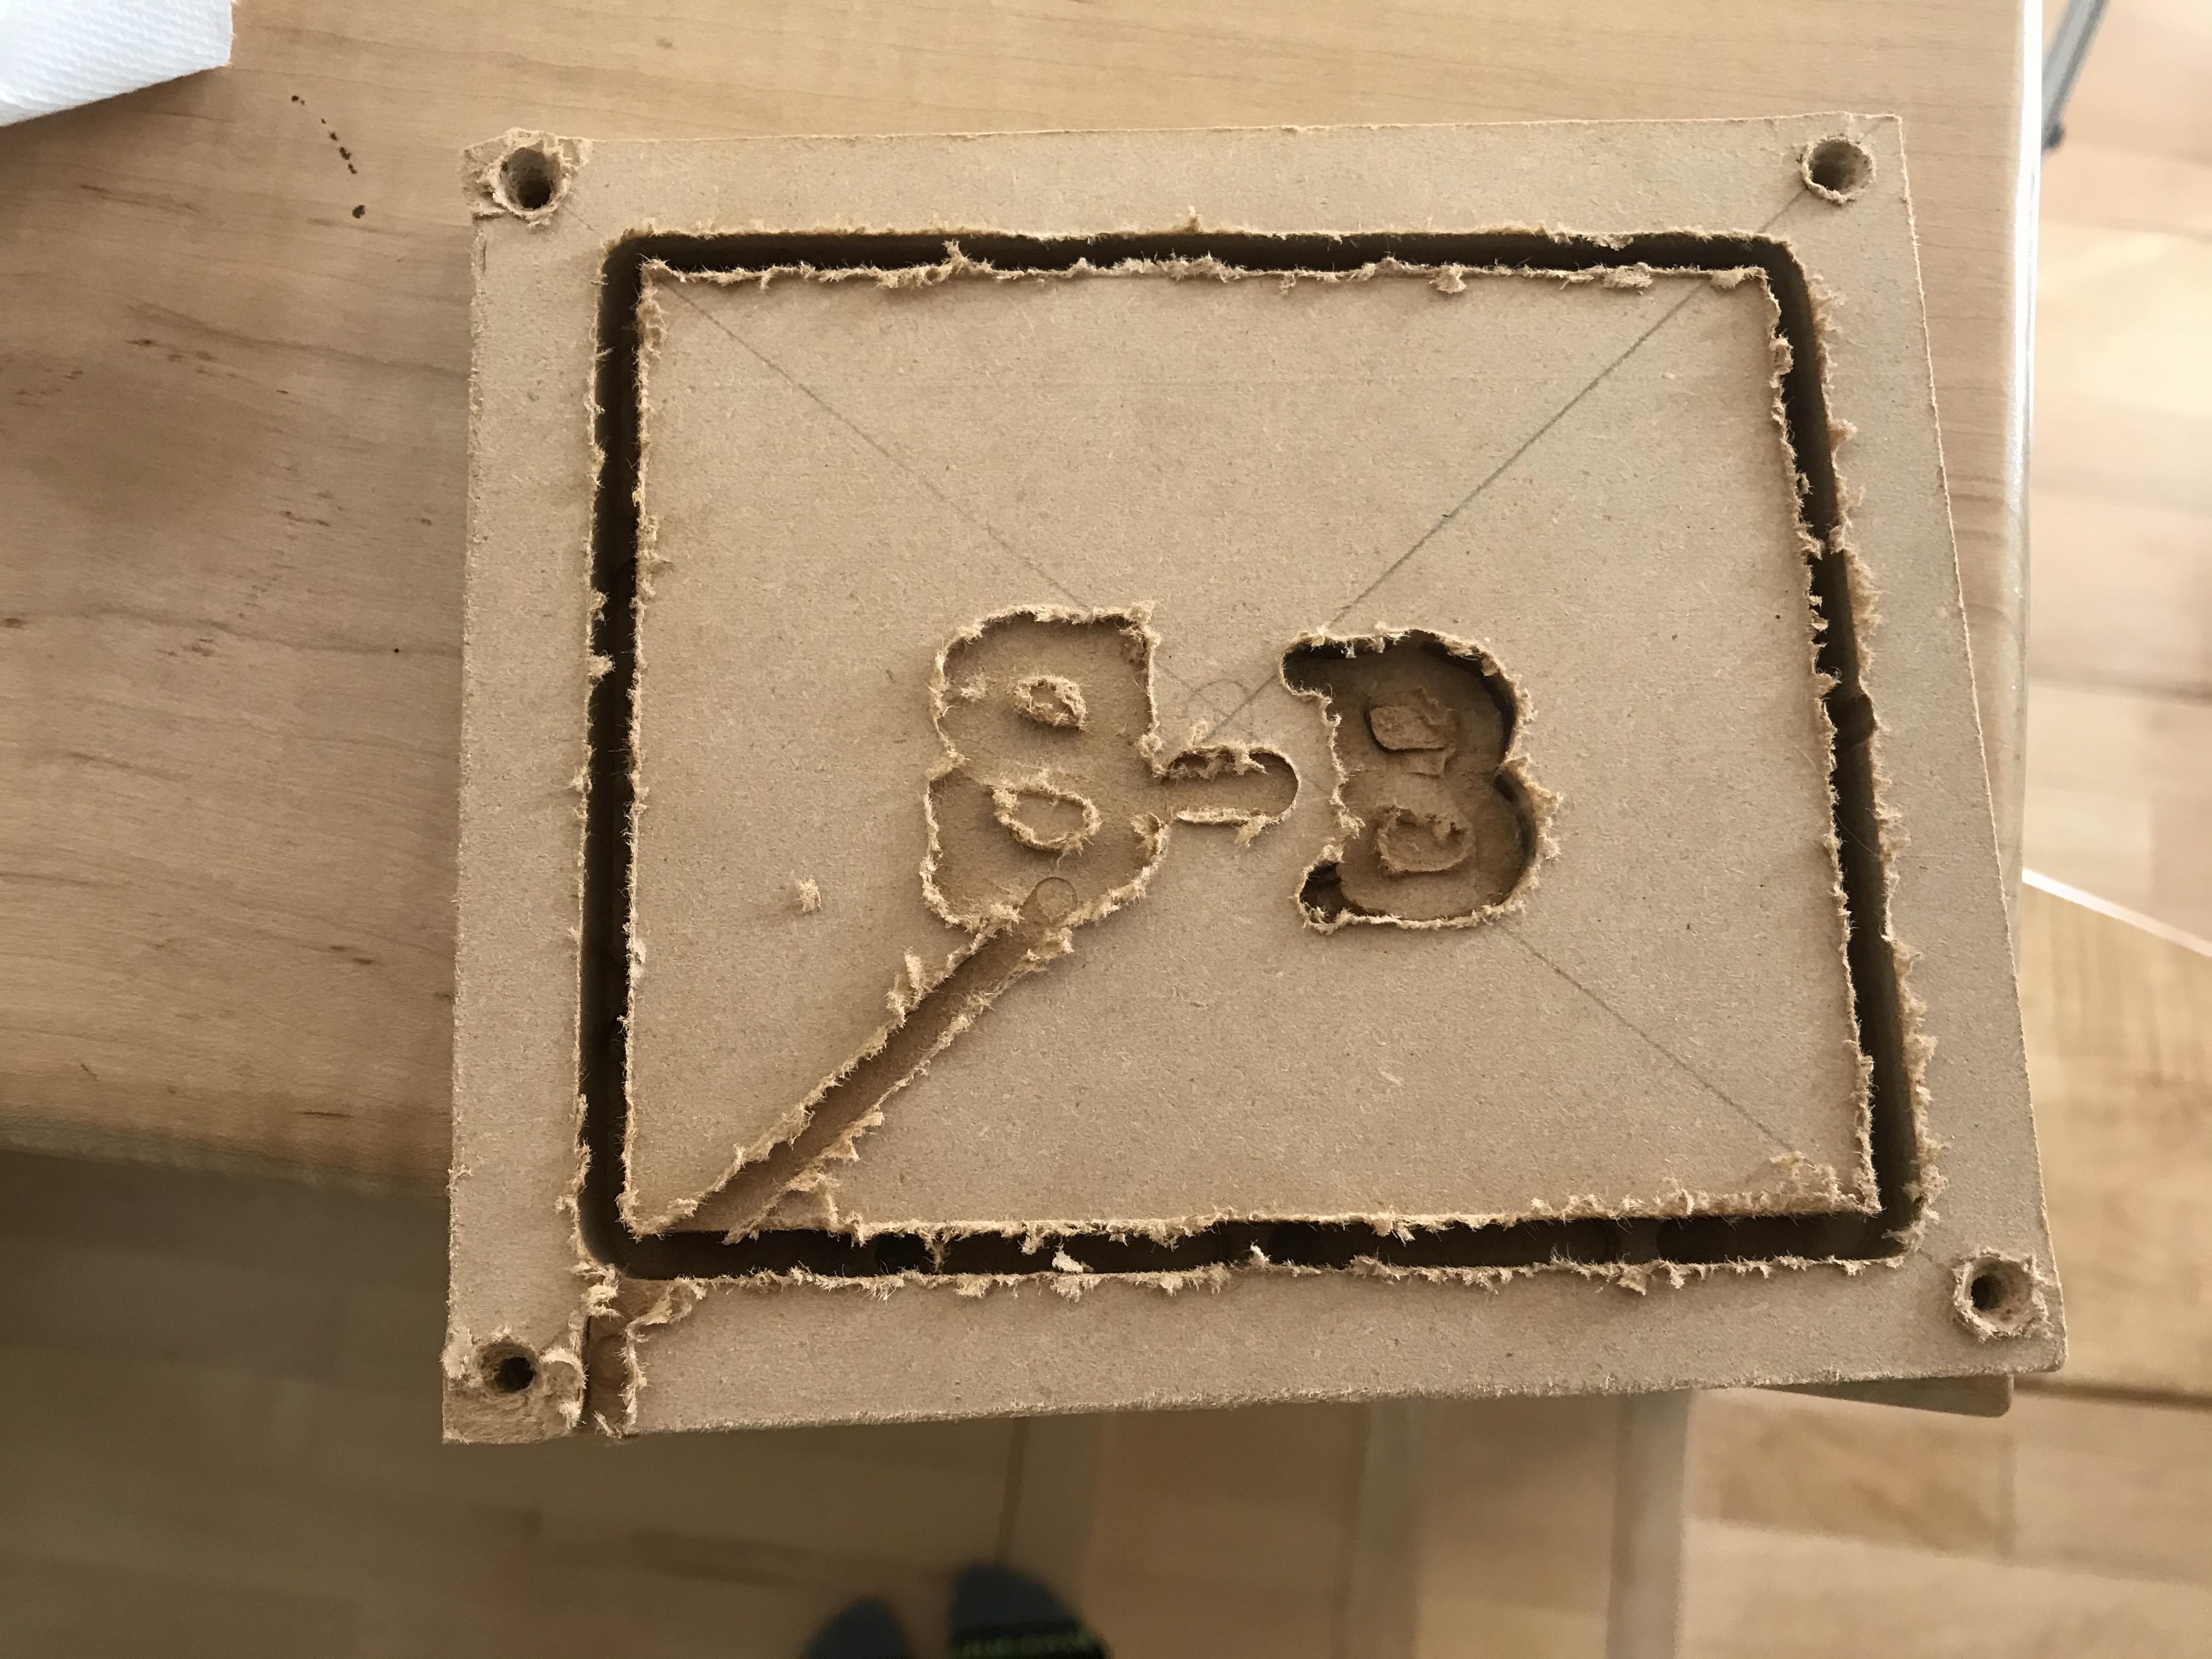
In the video, you can see that I was cutting to deep and too quickly for the bit. While these settings may have worked for a sharper milling bit, this was an old one that wasn't meant for this purpose.
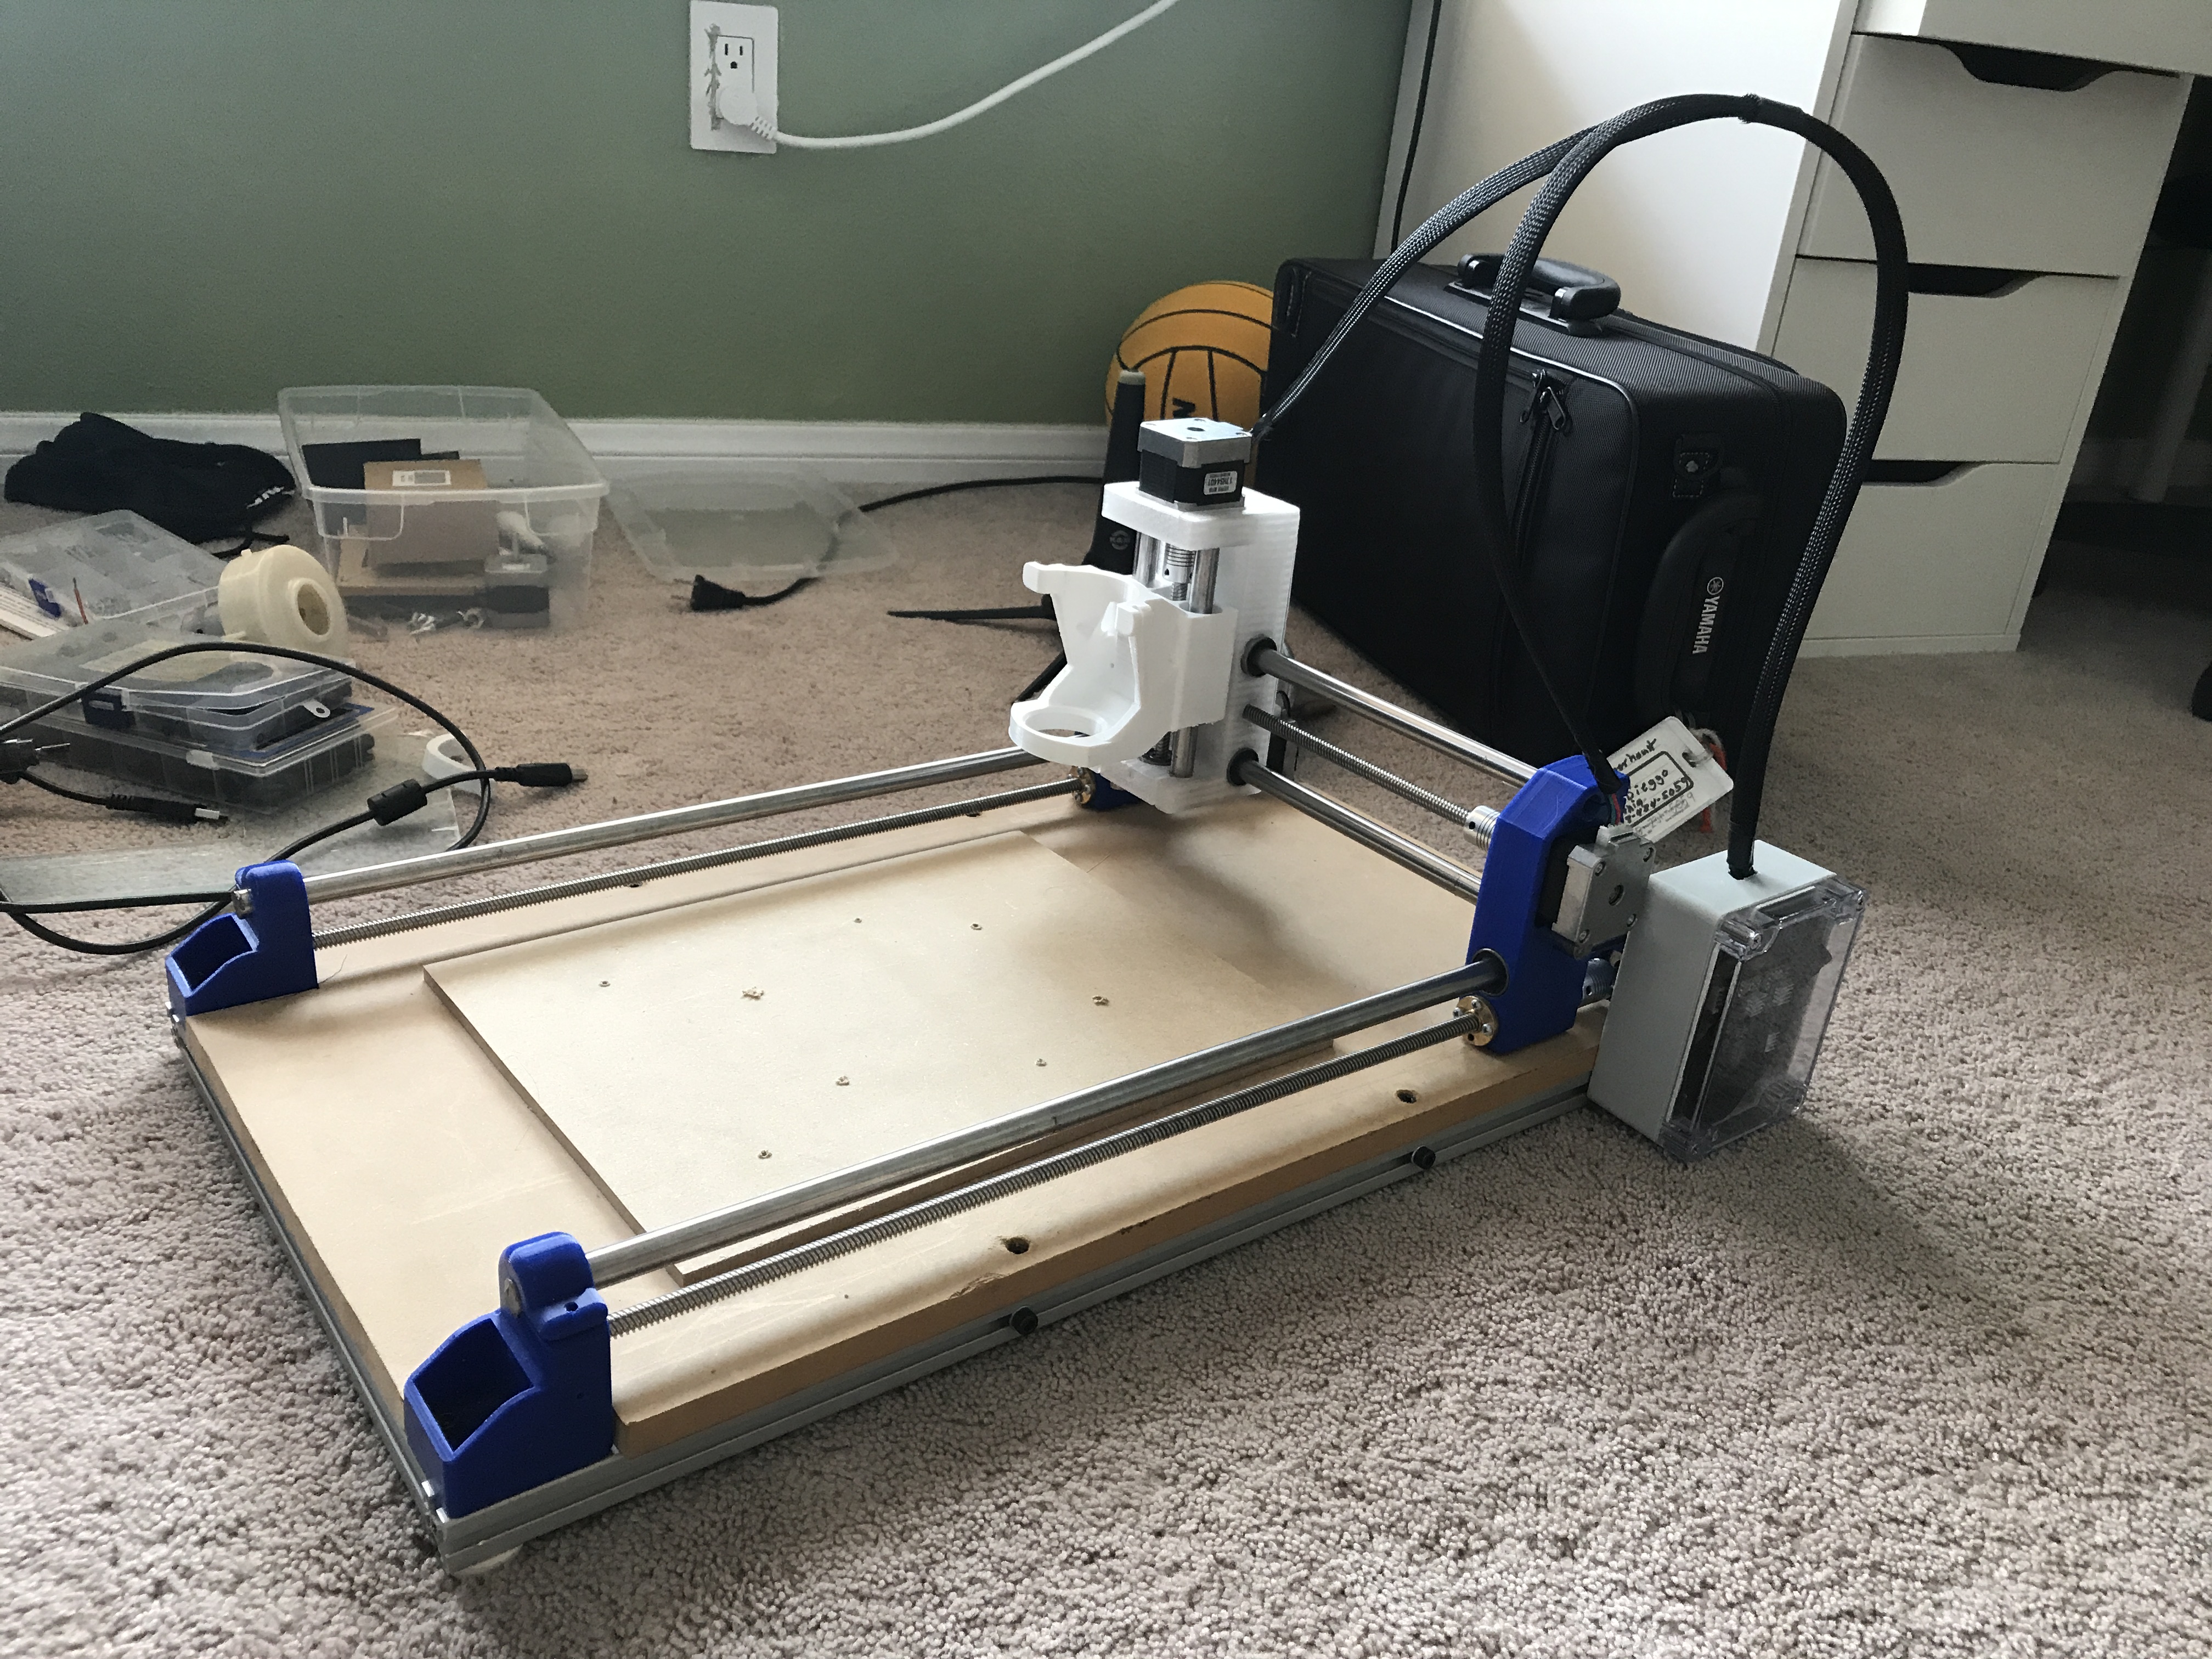
But there was another problem: the cable management of the machine was terrible, and the serial communicatins cable between my computer and the machine was extremely short. That's what prompted this super awesome upgrade, that finally made me proud:
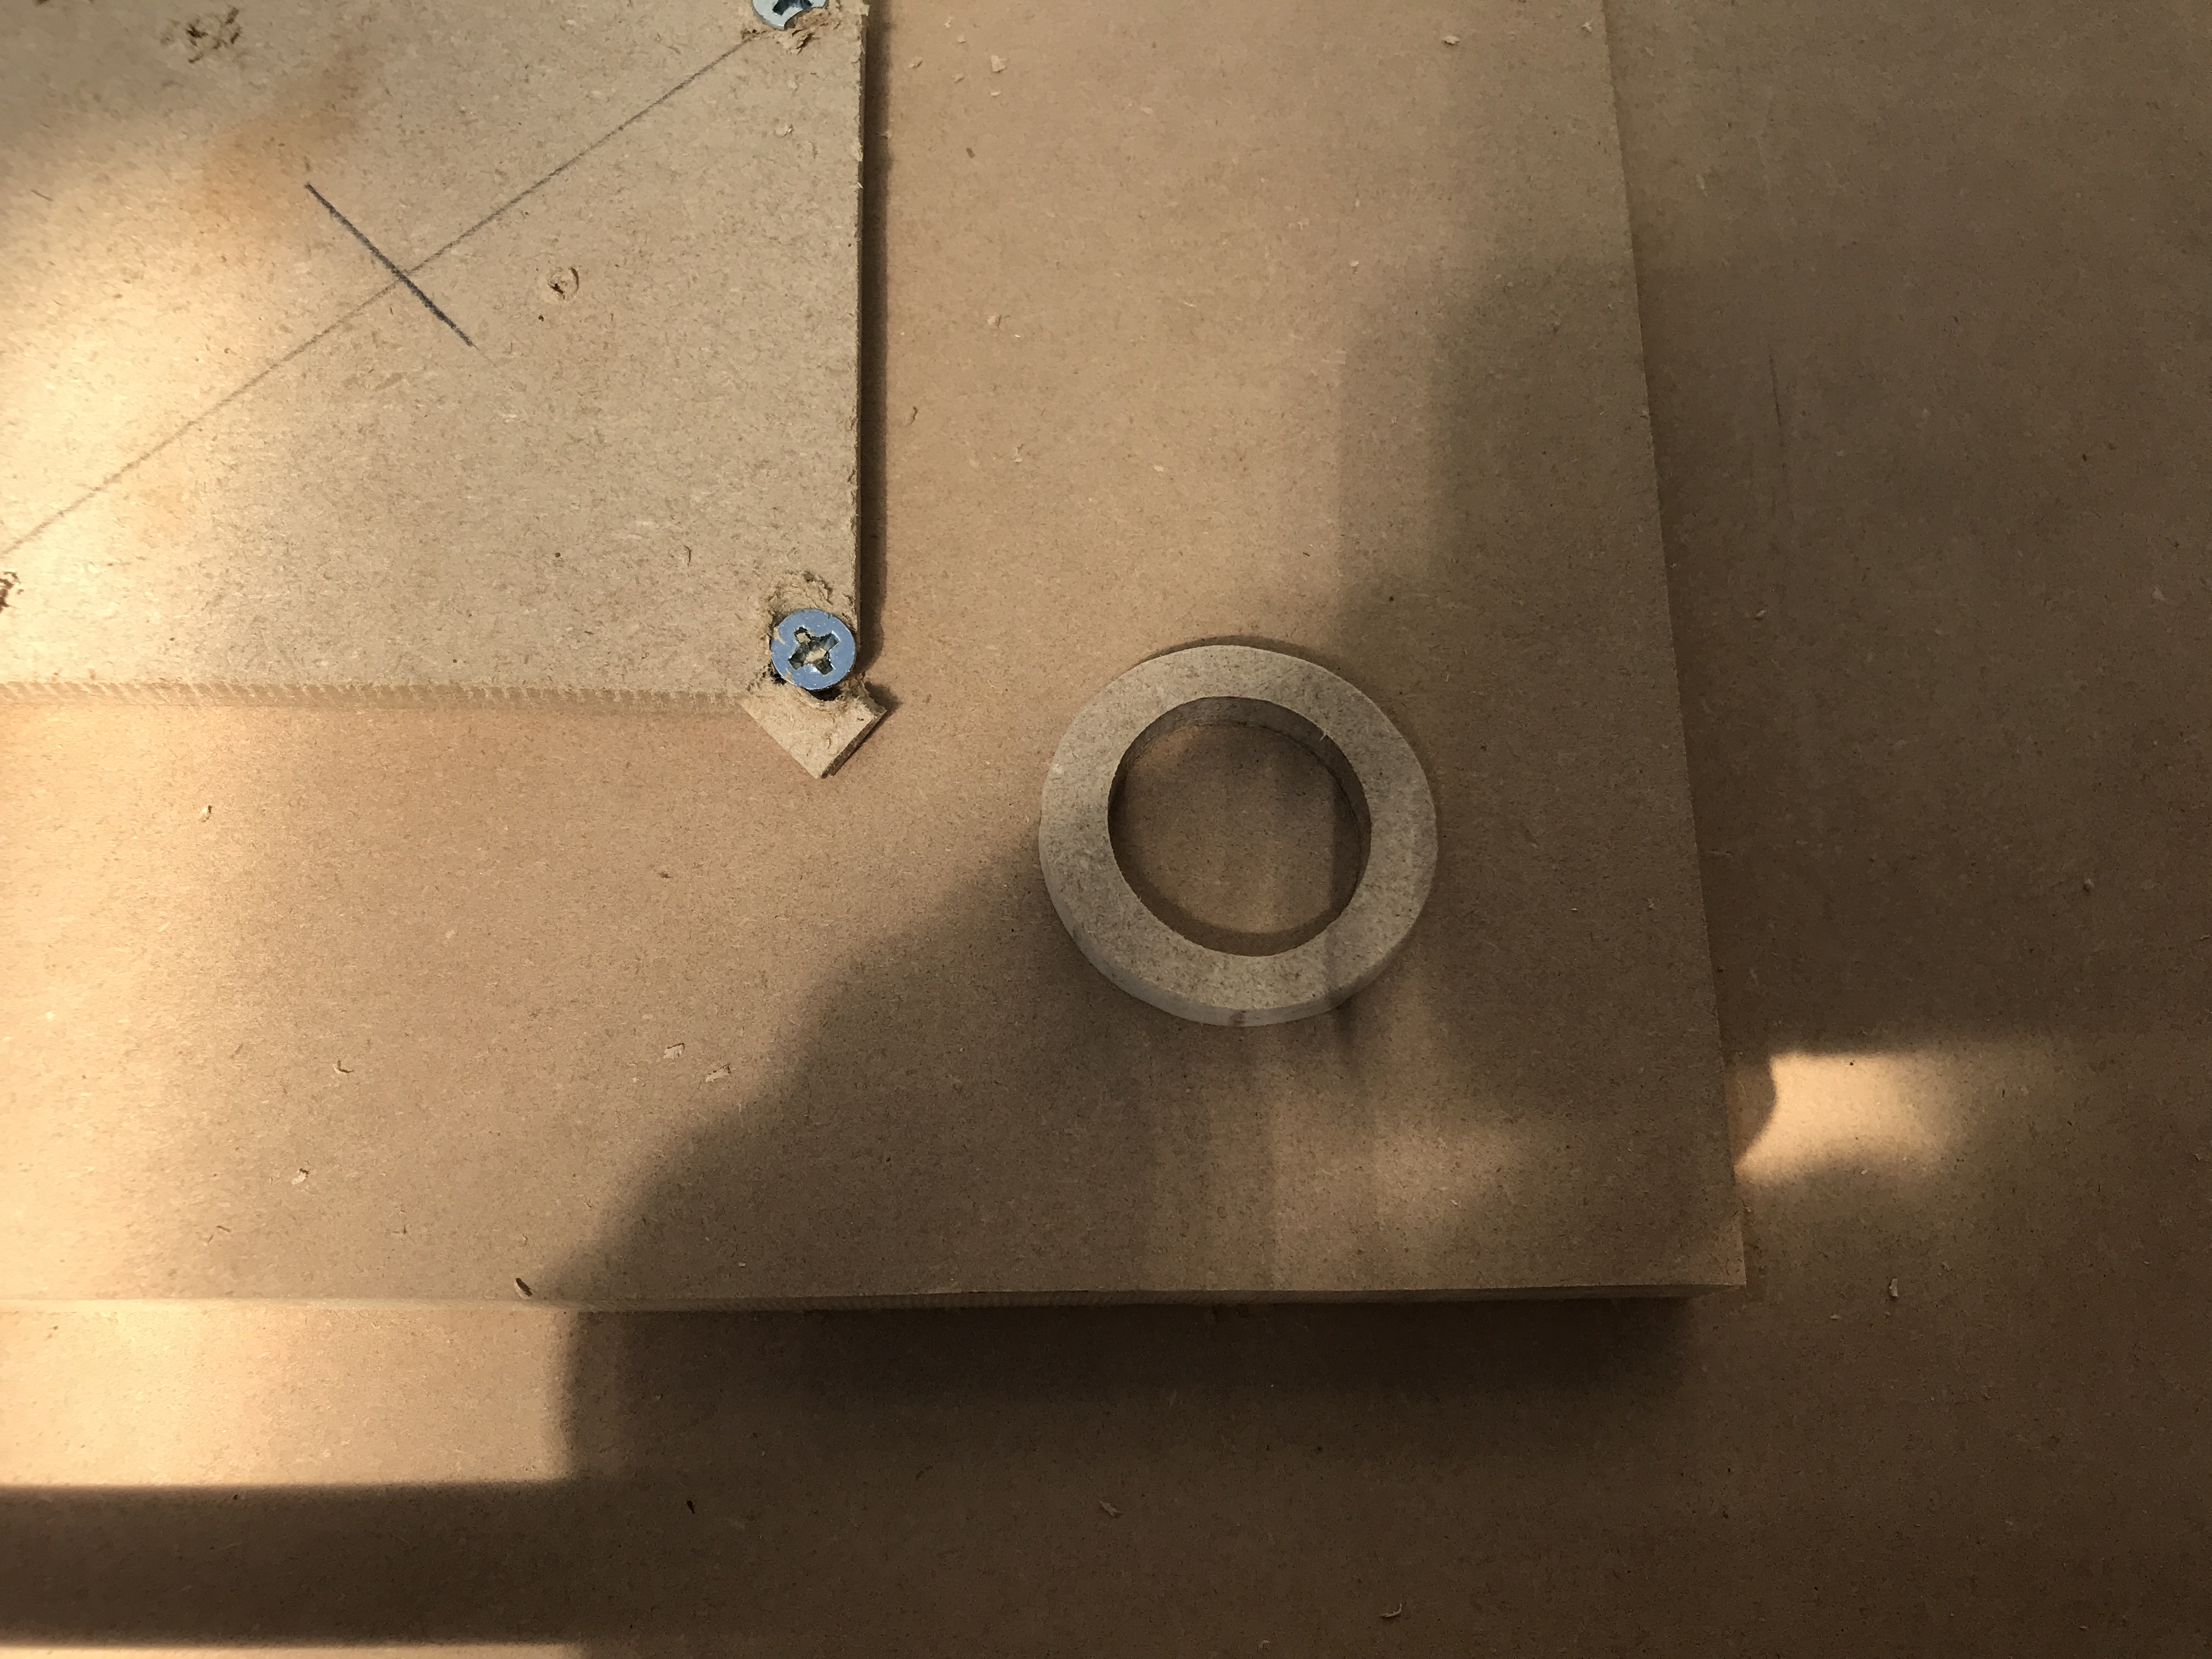
Next came a very steep learning curve. Since many of my classes at school were unorganized with the start of the quarantine period, students, such as myself, had much free-time. I spent this on calibrating my machine and developing my Fusion 360 manufacturing skills. I tried to test the basics, starting out with a plain circle cutout in MDF. After about a week of testing, I was able to mill a nearly perfect circle:
Looking back, I now realize that many of my problems were a result of using bad milling bits. Their dullness forced me to use lower Feed rates and more shallow cuts. While it was boring sometimes, I learned I lot about how the machine works and how I could best exploit what I had. Part of my later success in machining was probably based on this period.
By this time it was summer vacation, and I decided to invest time into learning about different materials. I started out with acrylic/plexiglass because I'd heard it was a difficult material to work with. Sure enough, it was. The biggest problem was selecting the right feed rates and milling speeds. I learned that at too high of speeds, the plastic would melt and stick to the bit, prompting a very sudden (and very dangerous) stop of the dremel. If this didn't happen, then the plastic would cool and harden on the bit and grind down the edges of the plastic I wanted to cut. Either way is bad, and the solution was increasing the feed rate. At a higher feed rate, the bit would have less time to contac the plastic, causing it to heat up less and thereby stick less to the bit. This opens up two possibilities for milling combos: slow spindle/low feed rate, or fast spindle/high speed rate. I found more success in the former option: slow spindle with a low feed rate. Not only did it seem more safe, but the other option still cause plastic to stick more often than the former. Either way, figuring this out was difficult, as there is a very fine line between spindle speed and feed rate.
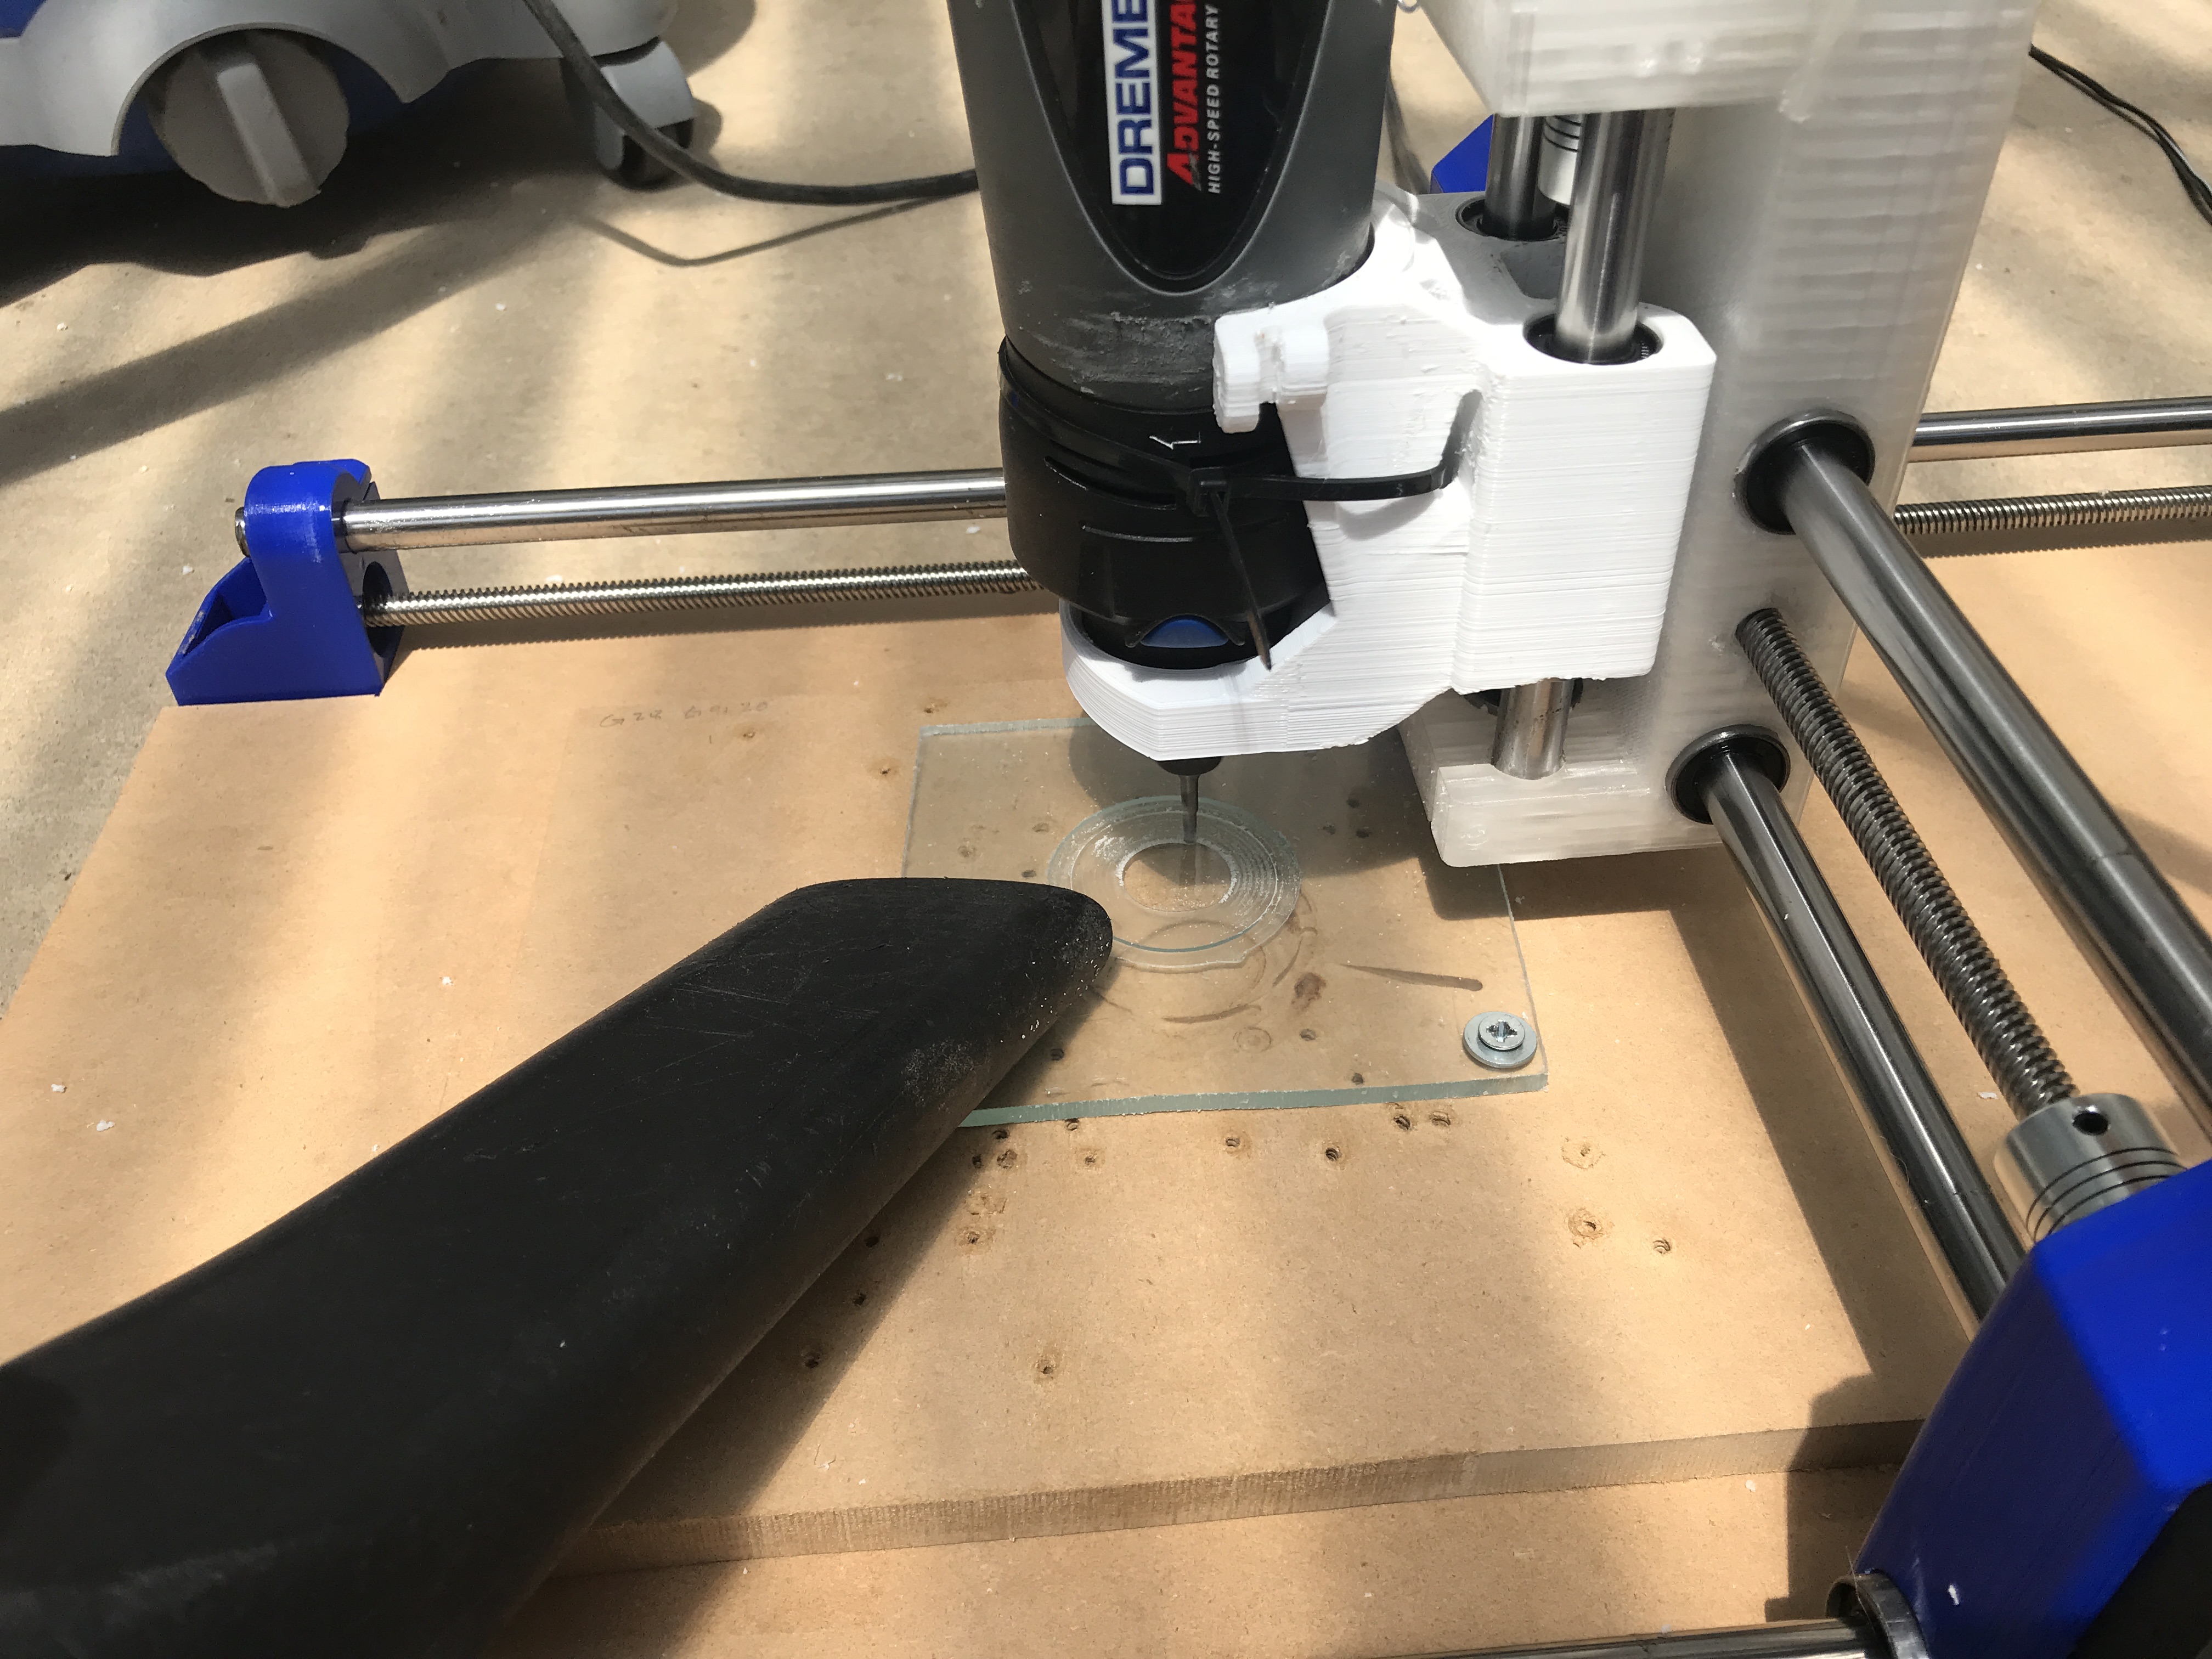
I tried to create a circular window. Using the circle-cutting skills I had developed earlier, I was able to it except for the problems I had with the acrylic I mentioned earlier.
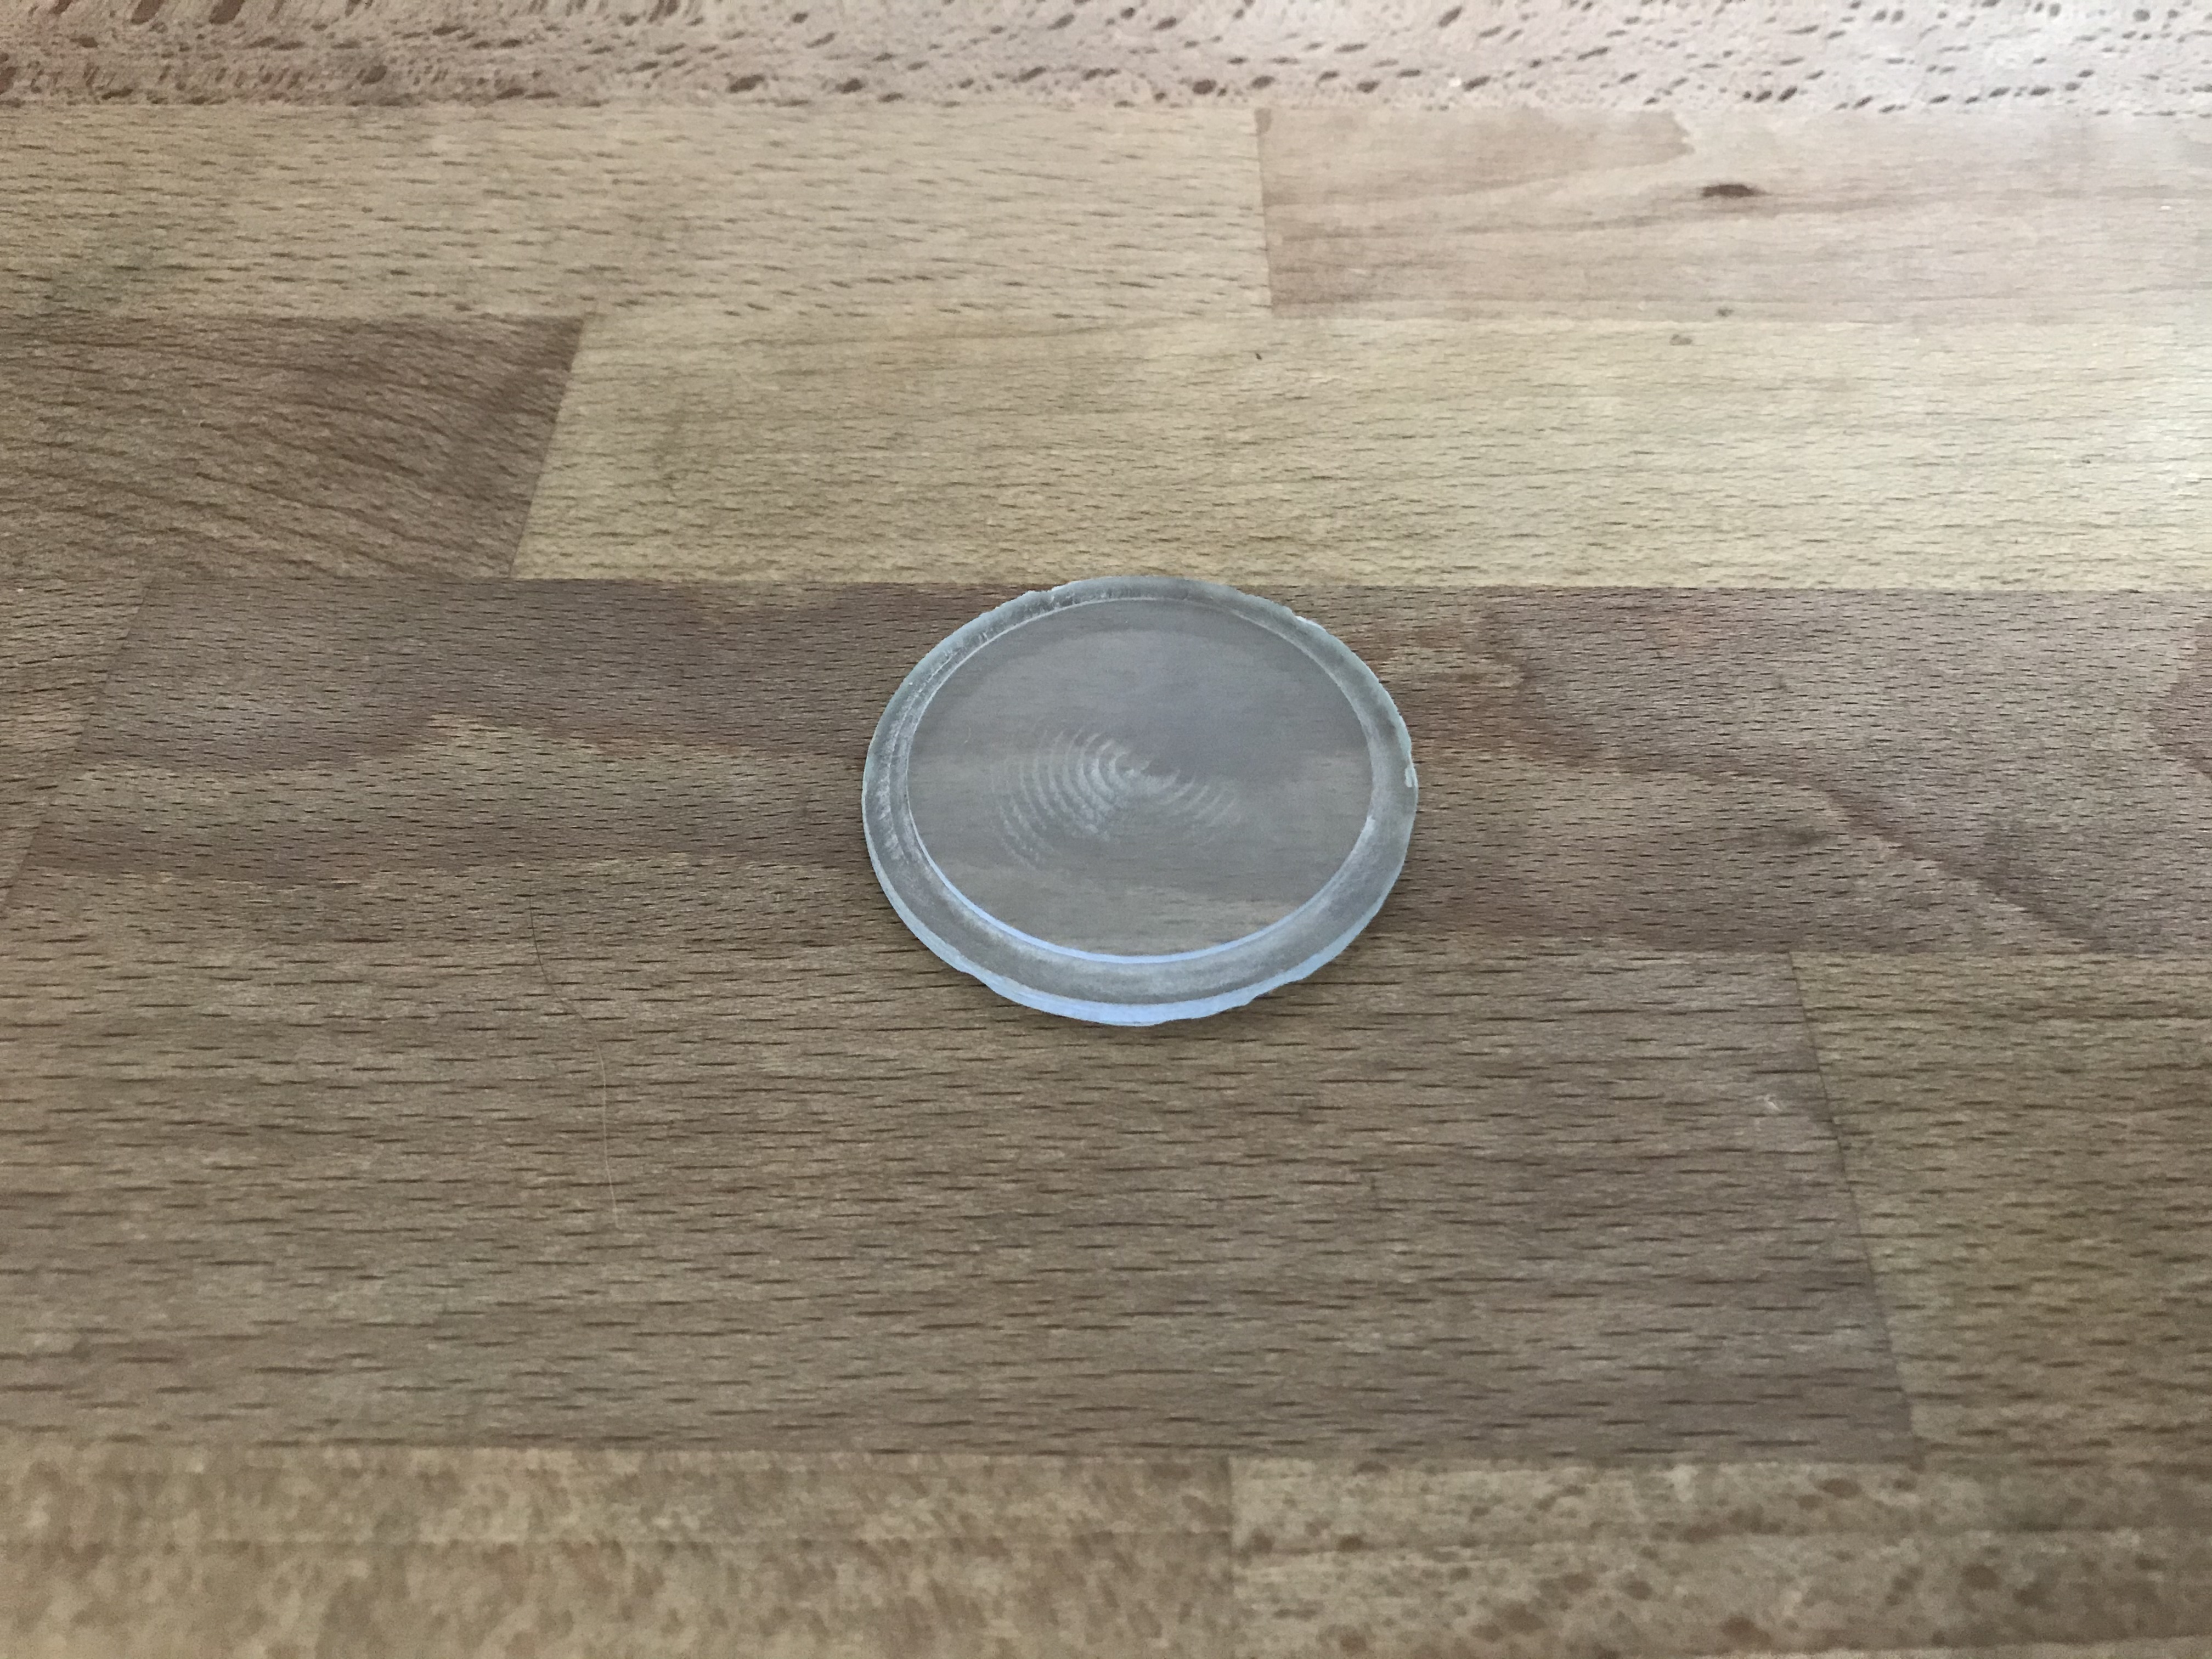
If you look carefully, you can see that the lower edge of the cut has some chips, which is the grinding effect acrylic can create when it's stuck to the milling bit.
This project, while not complete, got me much more interested in programming+hardware. I had programmed before, however the craze of school detracted from my ability to pursue my interest. Furthermore, the programming projects I had done were strictly software; no hardware whatsoever. After learning about how the cnc machine worked from a hardware perspective, my passion for programming was rejuvenated with an appreciation for hardware as well. And at the beginning of summer vacation, this curiosity and interest in these fields was the best thing I could've asked for.
